If your manicure always flakes within days of painting, you’re probably wondering how to stop your nail polish chipping. Investing in the best nail polish you can is a start, but that’s only one part of achieving a long-lasting manicure. If you want that colour to go the distance, it’s vital to prep your nails properly, apply your polish effectively and maintain your handiwork afterwards.
You’ll need to look at the health of your nails, too. If yours are weak or brittle, treat them with the best nail-strengthening products, as tested by the GHI. Peeling, damaged nails make a poor base for a manicure and will flake and break, taking your polish with them.
Quick-drying nail polishes loved by the GH beauty team
Why do my nails chip so easily?
First things first: it could be that your day-to-day habits are sabotaging your salon-worthy DIY mani efforts. The first rule of extending the life of your polish is to keep hands and cuticles hydrated – the drier the nail, the more likely it is to break, flake and chip. Manicurist and Mii Nails Pro ambassador Hayley McColm suggests using a cuticle cream or hand cream wherever possible: “Cream textures can be more practical and less messy than applying cuticle oil when on the go, plus they sink in quicker and you’ll be more inclined to use them more often.” Otherwise, try the following:
- Avoid harsh, alcohol-laden handwashes and always moisturise after washing or sanitising hands.
- Wear rubber gloves whenever washing up and doing household chores.
- Apply a new layer of your top coat every three to four days to keep the colour fresh, glossy and prevent chips. But only do this every three days at the most or you’ll be left with a polish build-up that will just peel away.
- Always at your laptop? “Type with the pads of your fingers and not the tips of your nails,” says manicurist and OPI ambassador Lilly Lam. “Lots of keyboard tapping causes polish to chip.”
- If you notice that your nail varnish chips more often in winter than in during the summer, you’re not imagining things. “Nails can be more prone to damage, cracking and becoming brittle in colder weather, which leads to chipping,” says manicurist and Protein Formula Nails ambassador Robbie Tomkins. “It may sound obvious but when the temperature drops, cover up and protect your hands! Give them a fighting chance of staying supple and soft by investing in a good pair of warm or thermal gloves when venturing outdoors in the cold.”
- The shape of your nails can also affect how quickly your nail polish chips, according to Robbie. “Keeping nails short helps; try a neat ‘squoval’ and file regularly to avoid cracking and flaking on the free edge of your nails,” he says.
To help stop your nail polish chipping prematurely, we spoke to legendary nail expert Leighton Denny MBE to find out all the essential dos and don’ts for a long-lasting manicure.
How to stop nail polish chipping: preparation tips
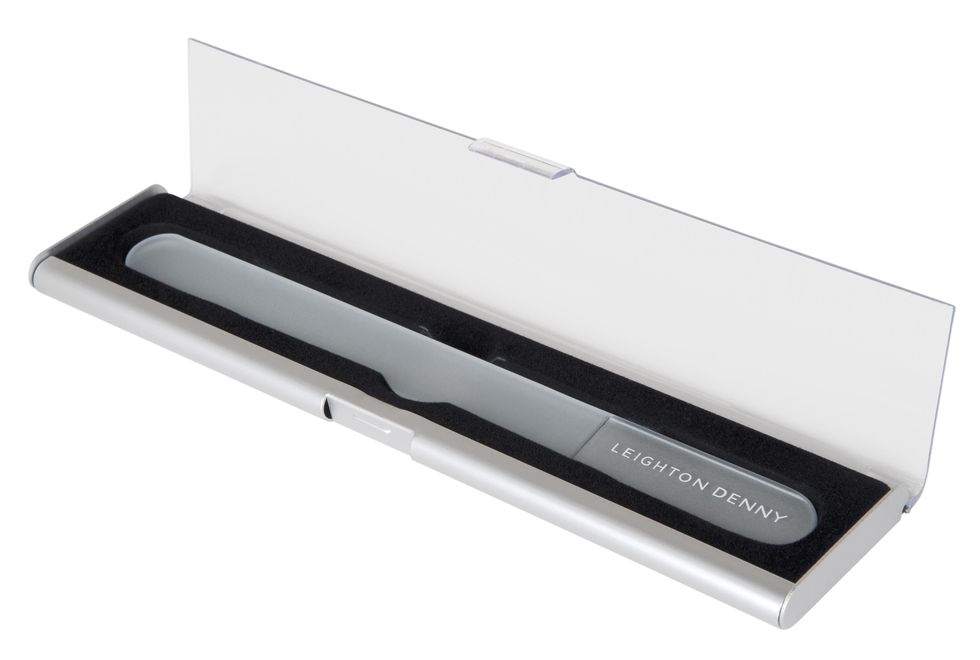
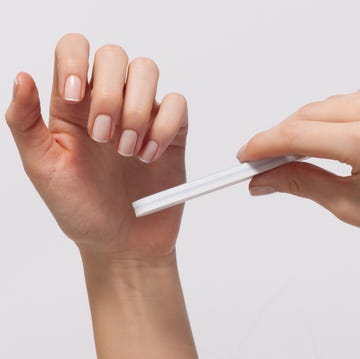
- A good nail file is non-negotiable for a chip-free mani. A poor-quality file or old emery board can cause the nail to split, peel, flake and break, particularly if you attempt to file back and forth.
- Only file when the nails are completely dry. When wet, nails are more vulnerable to damage, as the water works to separate the layers of the nail plate and can cause peeling.
- The secret to nails that embrace polish flawlessly is buffing after filing. This helps remove any ridges, creates a smooth surface and promotes better adhesion for your nail polish. That said, don’t overdo it. Buffing more than once a month can thin and weaken your nail plate.
- For the longest-lasting manicure possible, your nails should be free from any oils and emollients as they can prevent your base coat from ‘grabbing’ on to the nail and reduce your polish longevity. To minimise streaks and peeling, lightly wipe an acetone-free nail polish remover over each nail to ensure the surface is clean and oil-free before applying your base coat.
How to stop nail varnish chipping: painting tips
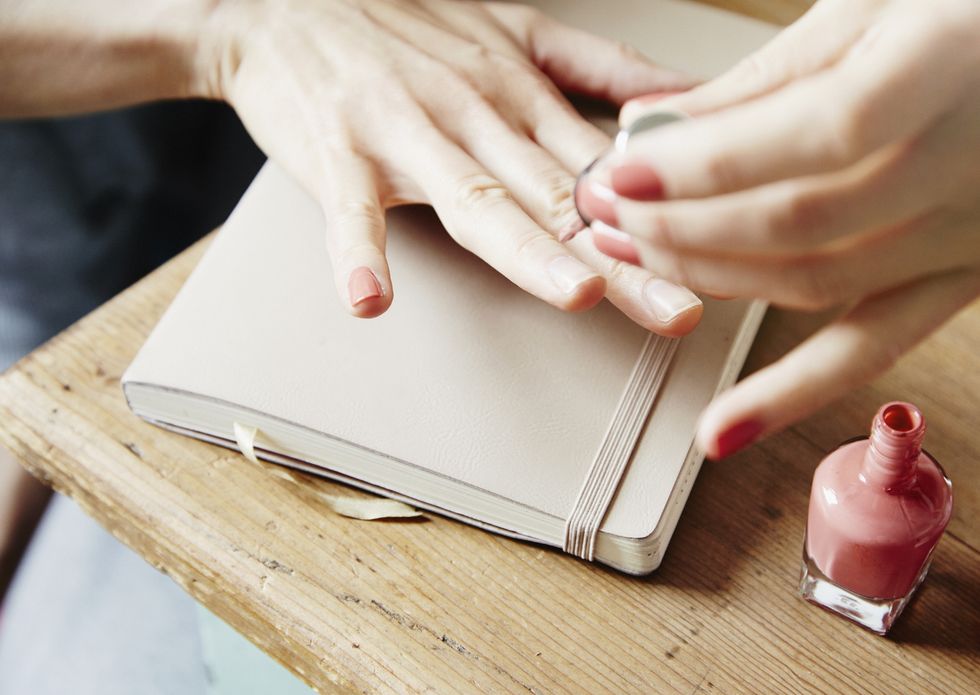
- Be organised. Make sure all of your products are laid out and ready. If you’re going out shortly afterwards, put your shoes on first and you have all you need from your handbag: car keys, travel pass, mobile phone etc. There’s no point your painting nails perfectly if they get damaged in the rush to go out.
- Don’t shake the polish before you start. You should always roll your bottle between the palms of your hands to mix your polish for an even pigment, rather than shaking it.
- Don’t underestimate the powers of base and top coats. A good base coat fills ridges and grips to colour to help maximise wear and reduce chipping. All nail colours should be protected with a top coat to prevent chipping and fading.
- As with makeup, the key to a perfect mani is to work in fine layers. Apply a base coat, two thin coats of colour and a top coat, ensuring you allow enough time for each coat to dry. Your base coat should appear matte before you begin to apply your colour and you should leave around 2-3 minutes of drying time in between each coat of polish and before applying your top coat.
- The thicker the coat, the longer it takes to dry. Many quick-drying polishes dry from the outside in, so if you apply a coat over a thick coat that isn’t dry underneath, you’ll end up with dragging, streaking, indentations and/or smudges. Bubbling mostly occurs when nail varnish is applied too thickly and then not given enough time to dry. Also, thick coats are more likely to chip at the tips.
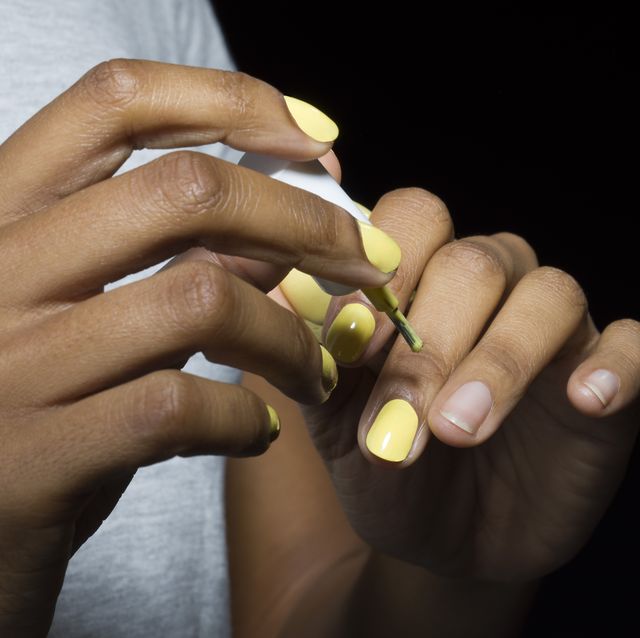
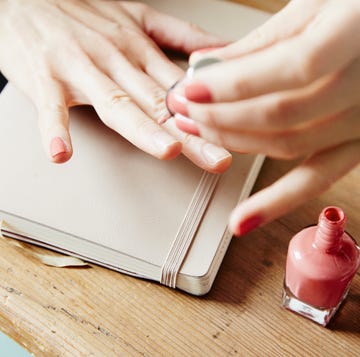
- Avoid getting polish on the cuticle, as this can lift the polish from the nail, causing chips. When applying polish, place the brush on the nail about an eighth of an inch away from the cuticle and push backwards towards it, stopping just before the skin. Then make the usual stroke up towards the tip.
- Seal your tips to prevent chips. Chips start at the tips, so by lightly swiping your polish AND top coat over the tips of your nails, you’re able to seal in the colour and protect it from chipping for longer.
Try turning your polish into gel
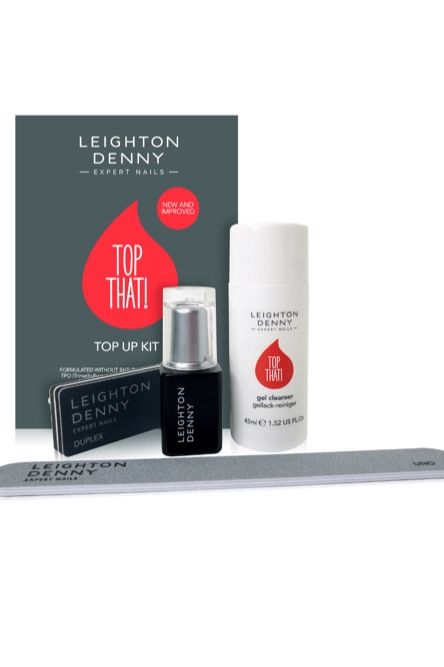
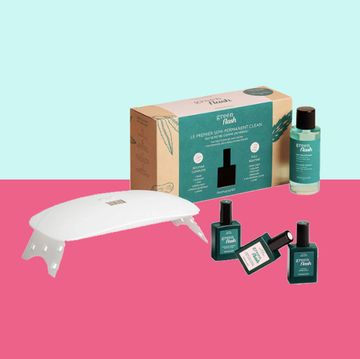
We all know opting for a gel manicure reduces the risk of chipping, so you may want to invest in a GHI approved home gel manicure kit. If you already have an extensive nail polish collection in shades that you love, there’s no need to start all over. A TOP THAT! kit turns any nail polish into a UV gel manicure by adding a special hard, protective top coat with a glossy gel finish.
With your normal base coat and polish underneath the top coat, it’s only using one layer of gel, making it easier to remove and kinder to nails.
