Dusting is no-one's favourite chore, and it often feels like by the time you get the job done, you have to do it all over again!
Staying on top of the dusting is the best way to ensure that it doesn't take forever, but for your efforts to be worthwhile, there are a few dust-prone spots that you need to tackle.
Here are five places that should be on your dusting checklist which you may be forgetting about.
1. Skirting boards
Most of us are pretty good about vacuuming our floors and carpets but skirting boards might not be part of the regular cleaning routine. As they're not at eye level, it's easy to overlook them until they're covered in a layer of dust but clean skirting boards can make a real difference to the overall appearance of your home.
When vacuuming the floor, use the crevice nozzle to clean along the edges of skirting boards and get into all the corners. Alternatively, give skirting a quick once over with the bristles of the broom when you're sweeping hard floors.
If you’ve got time, wipe skirting boards down with a dampened microfibre cloth. We like the e-cloth general purpose cloths. This, in particular, is a great job for small helpers willing to join in the cleaning routine!
2. Blinds
Whatever type of blinds you have in your home, there is a knack to cleaning them. If you have pleated or roller blinds, lower them first and then pass a soft cloth over the surface of the fabric.
If you have slatted blinds, use a dampened microfibre cloth instead. Some people wear a pair of dampened cotton gloves as an alternative. Another trick is to wrap cloths around each arm of your kitchen tongs and secure them with elastic bands, then run them over each slat. Or, pop an old sock over your hand and run your open palm between the slats, if there's enough space.
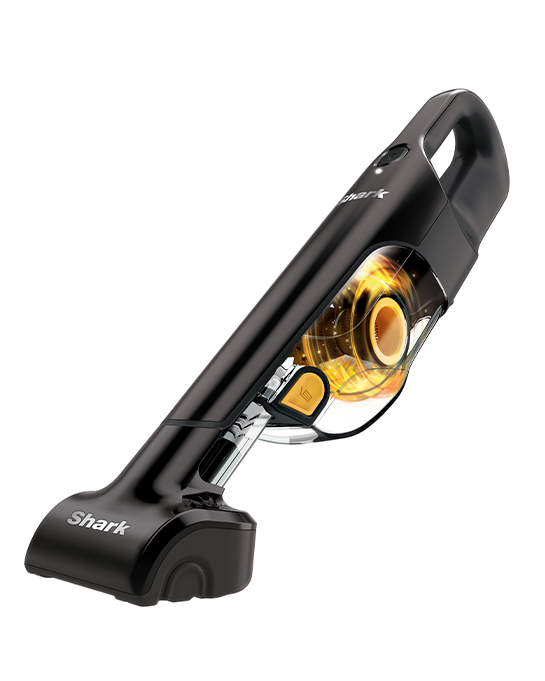
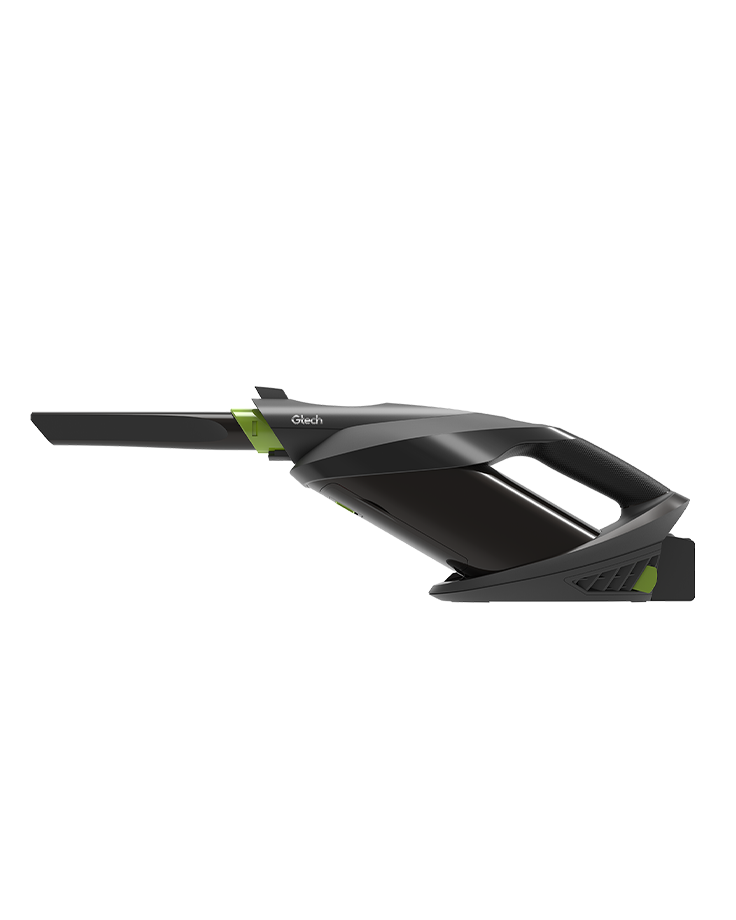
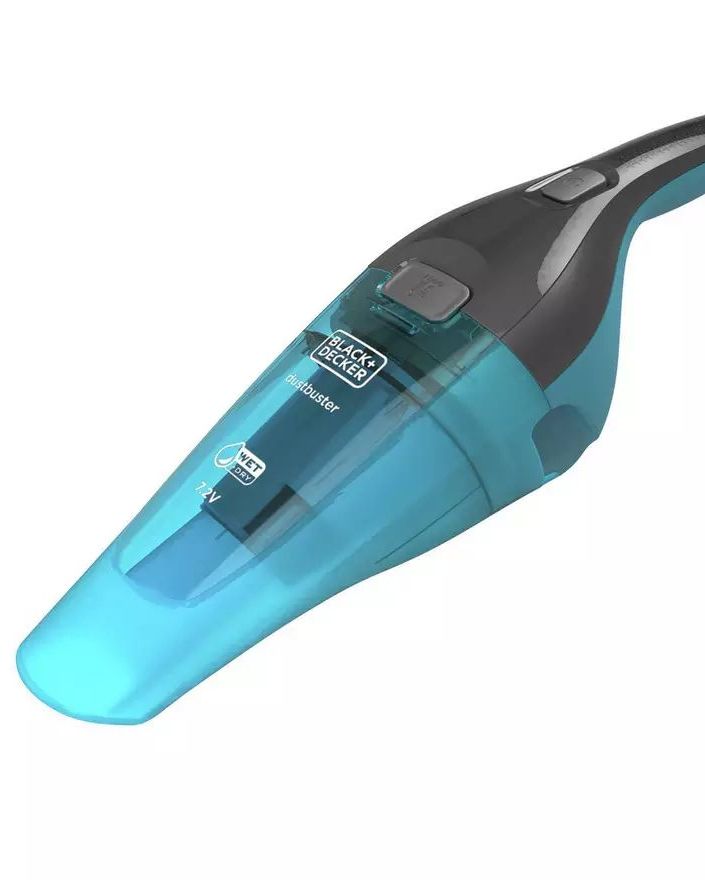
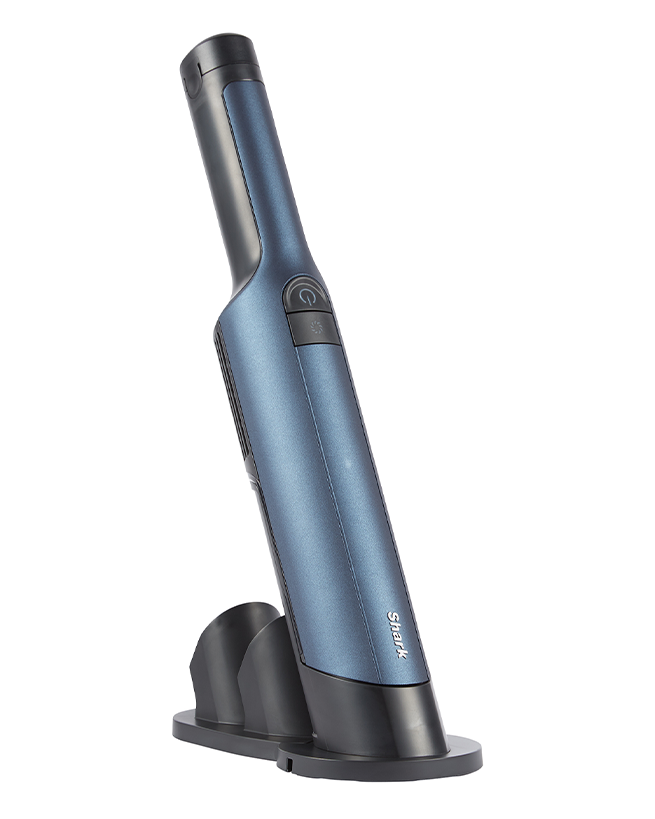
If you've got the handheld vacuum out, you can also use this to give the blinds a once over on a low suction setting.
3. Curtains
Curtains are rarely on our list of things to clean, but it’s important we give them TLC when required. Dust can build up here all too quickly, which attracts dust mites and can exacerbate allergies.
To deal with heavy dust, it’s simply a case of taking them down and shaking them out; do this outside, as you don’t want all that dust let loose in your house. For everyday dust, you can use the upholstery attachment on your vacuum cleaner. Aim to vacuum weekly to keep on top of dust build-up. Make sure you reach and cover the top of the curtains; that’s where the majority of dust will settle.
For a deep clean, which should be done every few years, curtains can be taken to the dry cleaners or hand-washed if the care label allows. Just be gentle as you work with them, squeezing rather than wringing the water away. Only use the washing machine if the care instructions allow. Iron lengthways on the wrong side, and hang while still damp.
4. Lamp shades
It’s easy to forget about dusting your lamp shades until someone knocks one and and a fine shower of dust sprinkles down through the air! To avoid this, they all need cleaning once in a while, including the ones on the ceiling.
Brushing your lampshades with a lint roller should do the trick but avoid this method on paper shades.
You could also try an old pair of tights, cut off at the knee. Pop your arm into the foot and use it as a dust grabber.
5. Picture frames
A dampened microfibre cloth is all you need to remove dust from picture frames. To get dust out of the corners, use a tooth pick or stiff-bristled paintbrush. Clean the glass with your usual window cleaner or dampen a clean, soft cloth with a solution of white vinegar and warm water. Dry with a lint-free cloth or microfibre polishing cloth.
Pay particular attention to the tops of your frames as that’s where most of the dust will gather without notice. Get a view from above with a step ladder and wipe across the surface gently with your damp cloth. Support the frame as you clean and don’t put pressure on it; you don’t want to pull it down from the wall in the process!


