When it comes to breakfast, the toaster is most people's go-to appliance. But, despite its regular use, it’s a gadget we rarely clean. There’s good reason for this; the mess is generally hidden within, and it’s not like you can just load into the dishwasher!
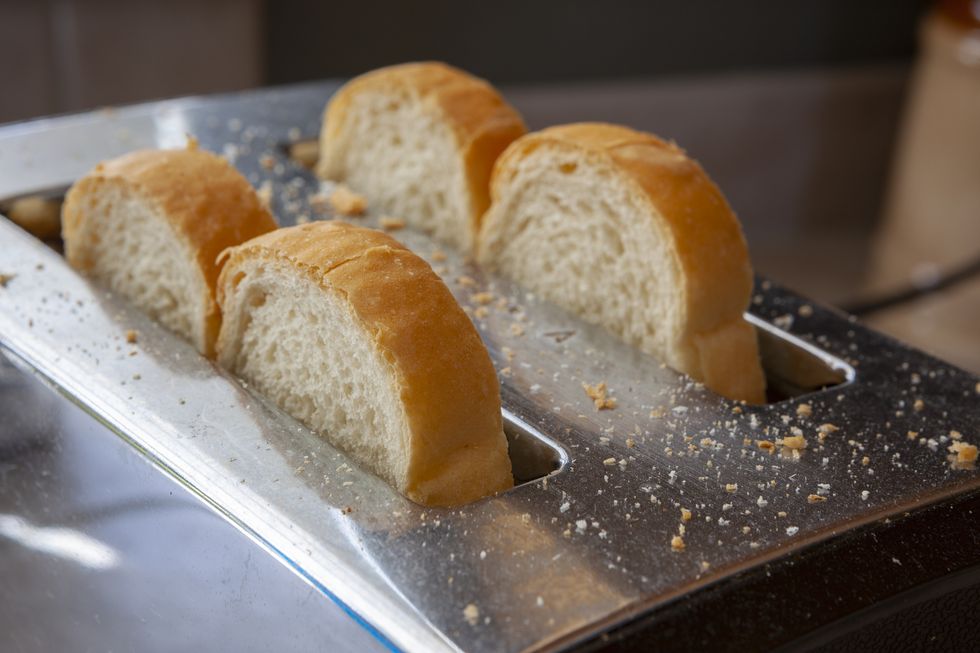
However, even the best toasters need a clean once in a while. Otherwise crumbs can accumulate, which leads to an unappealing burning smell or even a fire hazard if ignored. We recommend cleaning your toaster at least once a month and checking and emptying the crumb tray every few days.
Cleaning a toaster is not a complicated process, it just requires a little TLC. Here's how...
1. Switch it off and let it cool
The first and most important step is to switch your toaster off at the wall, unplug it, and give it sufficient time to cool. This is for your own safety as it’s all too easy to burn yourself on a hot toaster.
2. Prepare for crumbs
There’s no denying it, this is a messy job! Prepare by laying down some newspaper or a teatowel beneath your toaster beforehand. This is so you can remove and easily dispose of any flyaway crumbs once you’ve finished. It’s also advisable to bring your kitchen bin as close to your toaster as possible. Otherwise you can expect a trail of crumbs across your floor.
3. Use a pastry brush
To start, use a pastry brush, such as this Tala Wooden Pastry Brush, to brush away any external crumbs on top of your toaster – you can brush these inside the slots for ease. Then, use the same brush to knock any immediate internal crumbs from the heating elements into the crumb tray beneath. Be very gentle as you do this, and careful so as not the damage the internals. Don’t force the brush in further than it can immediately reach. Brush in the direction of the wires.
4. Empty and clean the crumb tray
Once you’ve done that, it’s time to tackle the crumb tray; most toasters will have one of these. You should spot a small tab which you can pull out from the base of your toaster (refer to your manual if you’re unsure where to find this).
Take care as you pull it free; it may be brimming with crumbs – some may even be scraped under the toaster as you remove it (don’t worry, that’s what the newspaper is there for).
Carefully empty the tray into the bin, and then wash it in the sink using warm, soapy water. Leave it to dry completely and only refit your crumb tray once it’s completely dry and you've finished cleaning your toaster.
5. Empty residual crumbs
The next step is to remove any final internal crumbs. Pick up your toaster and carefully turn it upside down over the bin, allowing any final crumbs to fall free. You can gently shake it, but don’t be too rough or you could damage it.
Once you no longer hear crumbs falling into the bin, repeat holding it the right way up. Look inside to make sure there's no bits of bread jammed in there. Raising and lowering the lever should help dislodge it.
6. Clean the exterior
The final step is cleaning the exterior of your toaster. You can do this using a damp microfibre cloth and a drop of washing up liquid, if necessary. Remove any soap with a damp cloth. For any debris which has gathered around the controls, you can use an old toothbrush to scrub it free. If you’re dealing with scorch marks, create a paste by combining bicarbonate of soda and water; rub this on the surface to remove the stain, then wipe clean with a damp cloth.
7. Polish
If you want your toaster to shine like new, you can also buff the surface. This is particularly important for stainless steel toasters. Simply apply distilled white vinegar to a soft, lint-free cloth and use this to buff the exterior. Work in circular motions to clear any marks and fingerprints.
